How to Remove Background in GIMP: 5 Essential Methods for Beginners
Learn how to remove backgrounds in GIMP using various tools like the fuzzy select tool, paths tool, and foreground select tool. Discover which method is best for your image!

Removing the background from an image is one of the most common tasks in photo editing. Whether you're creating a professional graphic design, preparing a product image for an online store, or simply improving a personal photo, knowing how to remove a background effectively is a key skill.
In this guide, we'll explore five essential methods for GIMP remove background (GNU Image Manipulation Program), a free and open-source photo editing software, along with a quick and efficient alternative using Aitubo. The best method for you will depend on your image and the level of precision you need. Let’s dive into the details of each approach!
5 Ways to Remove Background from Image in GIMP
GIMP stands for GNU Image Manipulation Program. It’s a free, open-source alternative to other photo editing software like Adobe Photoshop, and it offers many powerful features for tasks like photo retouching, image composition, and graphic design.
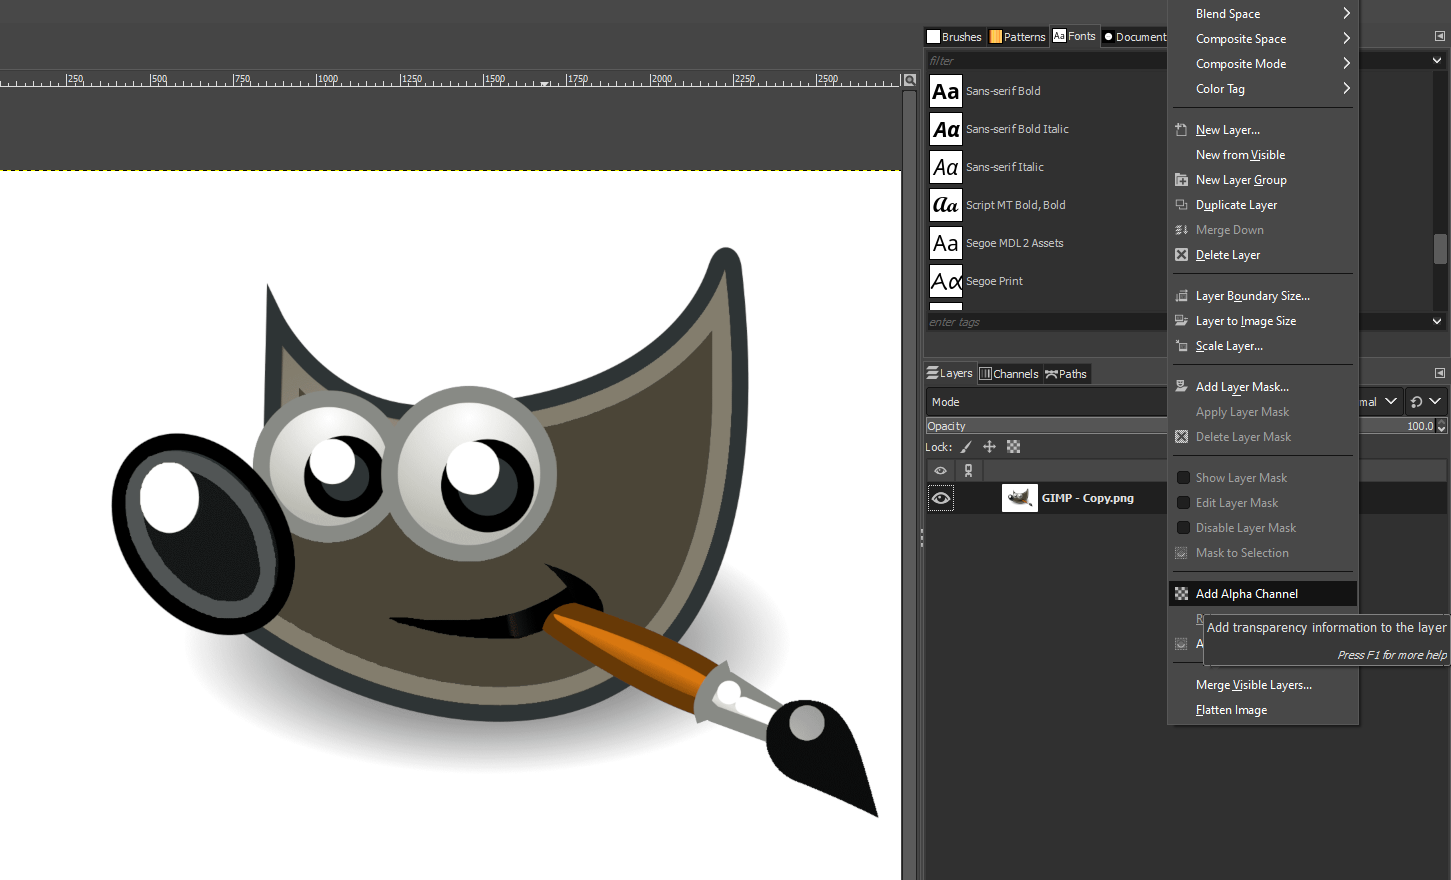
Whether you’re a beginner or an experienced designer, GIMP provides a wide range of tools to remove backgrounds, edit images, and create new visuals from scratch.
Removing the background from an image in GIMP is simple, and there are various methods to suit different types of images. Let’s look at five of the most useful techniques!
Tool Name | Function Description |
Fuzzy Select Tool | Selects areas of similar color by clicking on them, ideal for selecting backgrounds or large color regions. |
Color Tool | Used to adjust colors in an image, such as hue, saturation, and lightness, or to select areas based on color range. |
Paths Tool | Allows for precise manual selection by creating paths and curves, useful for intricate or detailed edges. |
Layer Masks Tool | Enables non-destructive editing by masking parts of a layer, allowing for more control over transparency and visibility. |
Foreground Select Tool | Helps isolate and select the foreground subject, even when the background is complex or similar in color to the subject. |
Fuzzy Select tool
The fuzzy select tool (often referred to as the magic wand tool) is one of the easiest methods to remove background in GIMP. It’s ideal for images with solid or consistent backgrounds, like a white background or light blue background.
An image with a consistent background, such as an object against a clear blue sky would select the entire background in one go.
Here’s how to use the fuzzy select tool:
- Open your image in GIMP.
- In the tools menu, select the fuzzy select tool from the toolbar (shortcut: U).
- Click on the background area you want to remove. The tool will select all pixels with a similar color.
- Adjust the threshold (tolerance) in the tool options to select more or fewer pixels based on color similarity.
- Once you’ve selected the background, press the delete key to remove it. You’ll see a transparent background (represented by a checkered grid).
- If you need to refine the selection, you can use the select tool to manually adjust the selection or use the free select tool to add or subtract areas.
This method is quick, and it works best when the background is relatively uniform. However, for more intricate details around the edges of your subject, you may want to explore other tools.
Color tool
If the background has a consistent color, the color tool is a great option to remove the background in GIMP. It works by selecting all pixels that match the color you choose. This method is especially useful for backgrounds with a single color, like a dark blue background or white background.
Some tools allow you to select similar color pixels across the entire image canvas, making it easier to eliminate distracting background.
Here’s how to do it:
- Open the image and navigate to the tools menu.
- Select the color tool from the toolbar.
- Click on the background color you want to remove. GIMP will select all pixels with a similar color.
- Press the delete key to remove the background.
- If necessary, adjust the selection by refining the area using the select tool or other tools.
This approach is especially helpful if your image has a background with a consistent background pattern or color, and it requires just a few clicks to remove the background.
Paths tool
For more intricate images where you need a precise outline of the subject, the paths tool is an excellent choice. This method involves manually tracing the edges of your subject, giving you full control over the selection.
Here’s how to use the paths tool:
- Select the paths tool from the tools menu (shortcut: B).
- Click along the edges of your subject to create a rough outline. Use the top and bottom nodes to adjust the curve of the path.
- Once you’ve traced the entire subject, close the path by clicking on the first node.
- Right-click on the path and choose Path to Selection.
- Invert the selection by going to Select > Invert.
- Press the delete key to remove the background.
This method is ideal for images with complex or intricate details, like hair or fine edges. It may take a little more time, but the result is worth it for high-quality background removal.
Layer Masks tool
The Layer Mask Tool is an advanced background removal feature in GIMP. It offers a more advanced and non-destructive way to remove the background in GIMP.
This method is perfect for when you want to refine your selection and ensure that you don’t accidentally delete parts of the image you want to keep.
- Open the image file and duplicate the original layer by right-clicking on the image layer and selecting Duplicate Layer.
- Right-click on the duplicate layer and choose Add Layer Mask.
- In the dialog that appears, choose White (full opacity) and click OK.
- With the layer mask selected, use the paintbrush tool to manually brush over areas of the background area you want to remove. Use black to remove and white to restore parts of the image.
- Use the bucket fill tool with the alpha channel to quickly fill areas of the mask with transparency.
- Once you’ve finished editing the mask, you’ll see the image icon with the background removed. To see your work more clearly, enable the transparency grid.
Layer masks are incredibly powerful, allowing you to remove the background in a way that’s easily reversible and adjustable.
Foreground Select tool
The foreground select tool in GIMP is a powerful option when you need to preserve the subject while removing a complex background. It’s especially useful when the background is busy or similar in color to the subject, which can make traditional selection tools less effective.
This tool allows you to outline the subject, and then GIMP’s AI analyzes the image to separate the subject from the background.
Here’s how to use it:
- Open the image in GIMP.
- Select the foreground select tool from the toolbar (shortcut: G).
- Outline the entire subject that you want to keep, making sure to include all the edges.
- After completing the outline, press Enter. GIMP will now show a preview of the selected foreground.
- Click and drag to paint over the light blue foreground area to refine the selection.
- Once you’re happy with the selection, press Enter again to confirm, and the background will be removed.
This method works well for subjects with complex or similar colors and can handle more challenging background removal tasks.
It’s ideal for images where the subject’s edges are soft or the contrast with the background is minimal. The foreground select tool ensures clean edges and a smooth result, even with tricky backgrounds.
How To Use Aitubo to Remove Background
While GIMP is an incredibly powerful tool, there are also other tools that can be used to remove image backgrounds. Aitubo, for instance, is a fast and efficient online tool that allows users to remove image backgrounds with just a few clicks.

Whether you need to create a transparent background or change the background entirely, Aitubo offers a simple way to remove image backgrounds, saving you time when working on projects.
Aitubo is a user-friendly online tool that quickly removes backgrounds from images using AI technology. Here's a simplified guide on how to use it:
Step 1: Go to the Aitubo Website
Visit the Aitubo website (www.aitubo.com) using your browser. Then choose the AI Background Remover.

Step 2: Upload Your Image
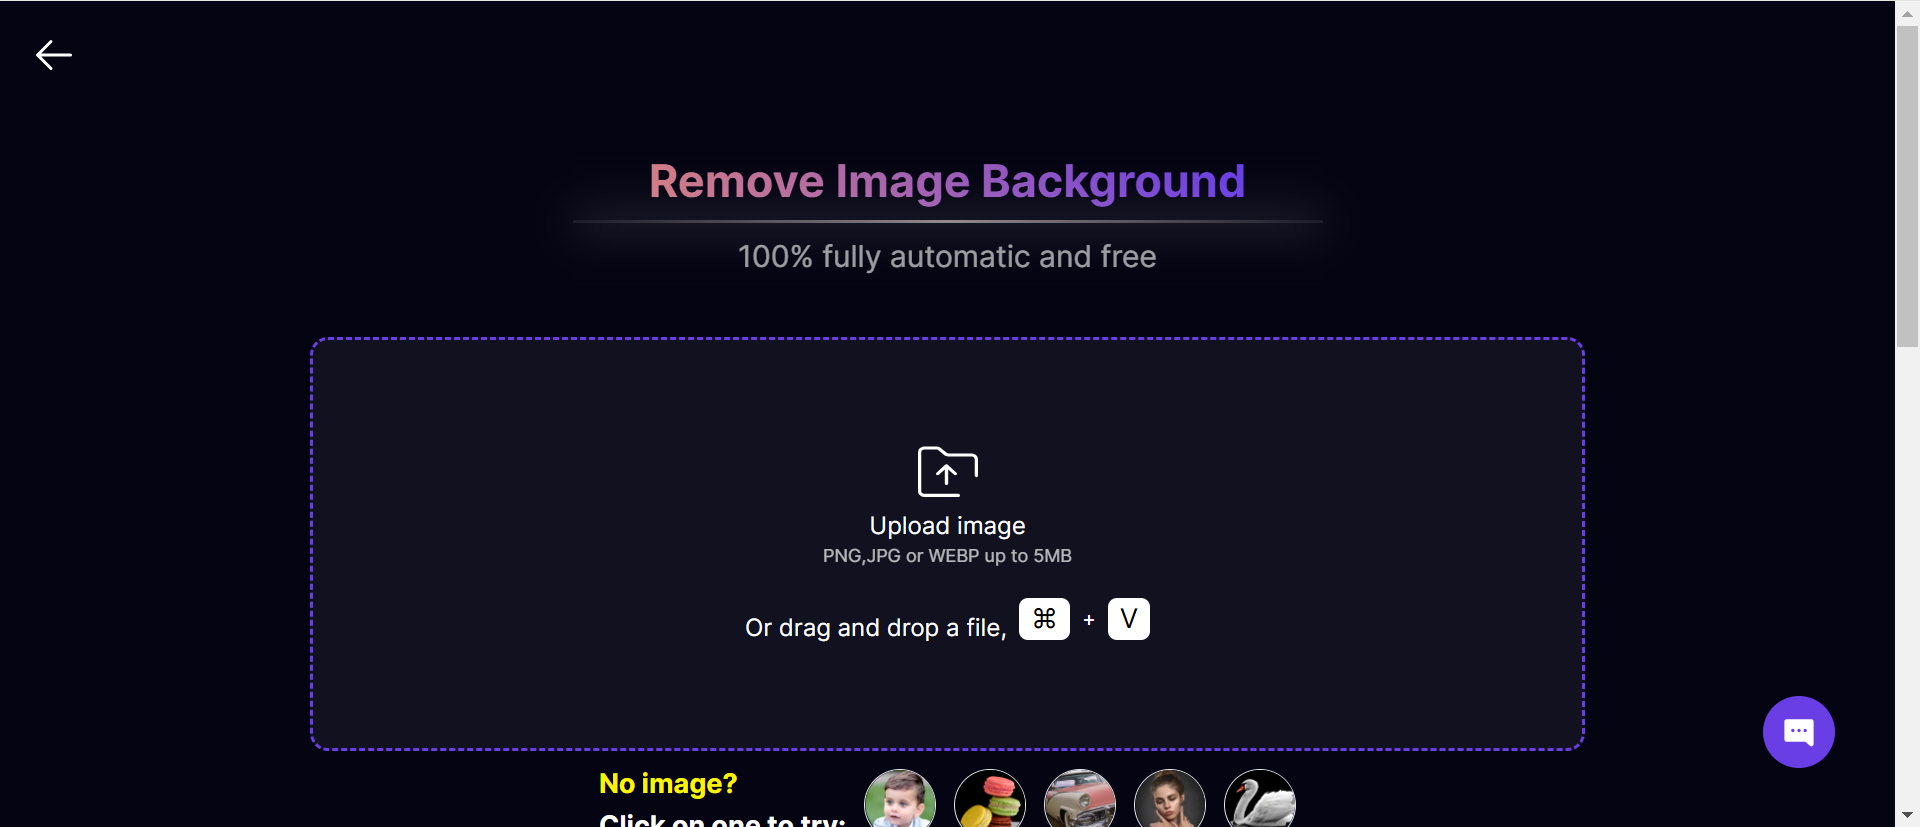
Click on the "Upload Image" button and select the image you want to edit from your computer. Supported formats include JPG, PNG, and WEBP.
Step 3: Wait for Background Removal
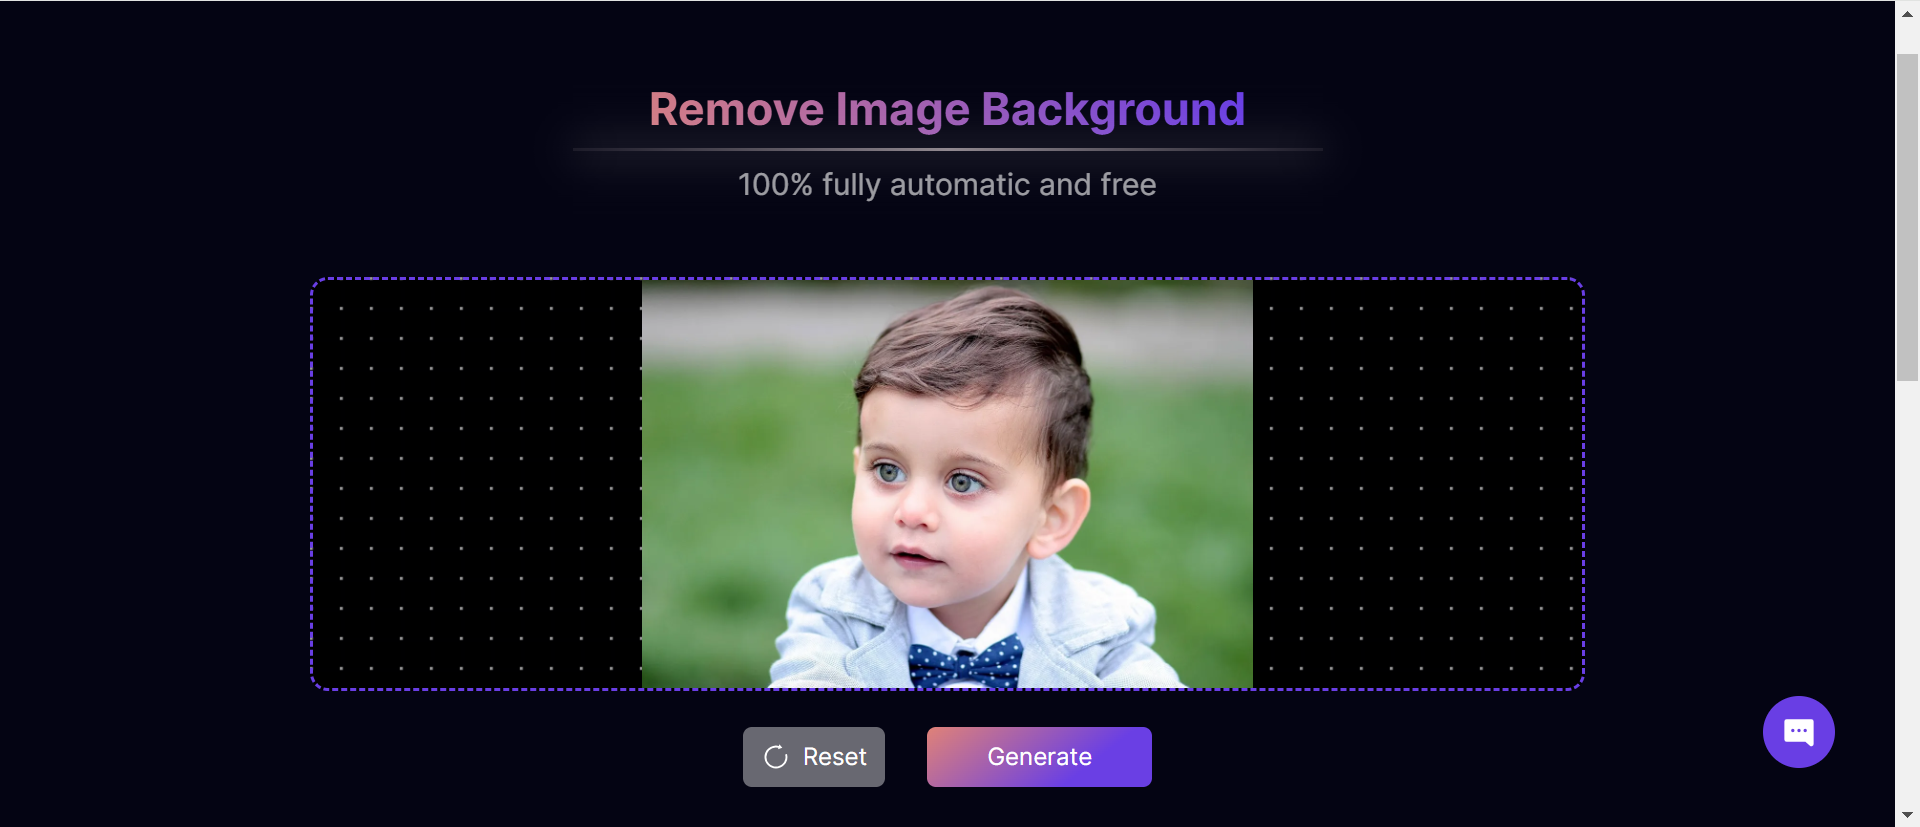
Once the image uploads, Aitubo will automatically remove the background. It uses AI to identify the subject and delete the background in just a few seconds. You’ll see a transparent background (indicated by a checkered grid).
Step 4: Edit (Optional)
If needed, you can use the available tools to make adjustments. For example, you can restore areas that were mistakenly erased or remove extra parts of the background.
Step 5: Download the Image
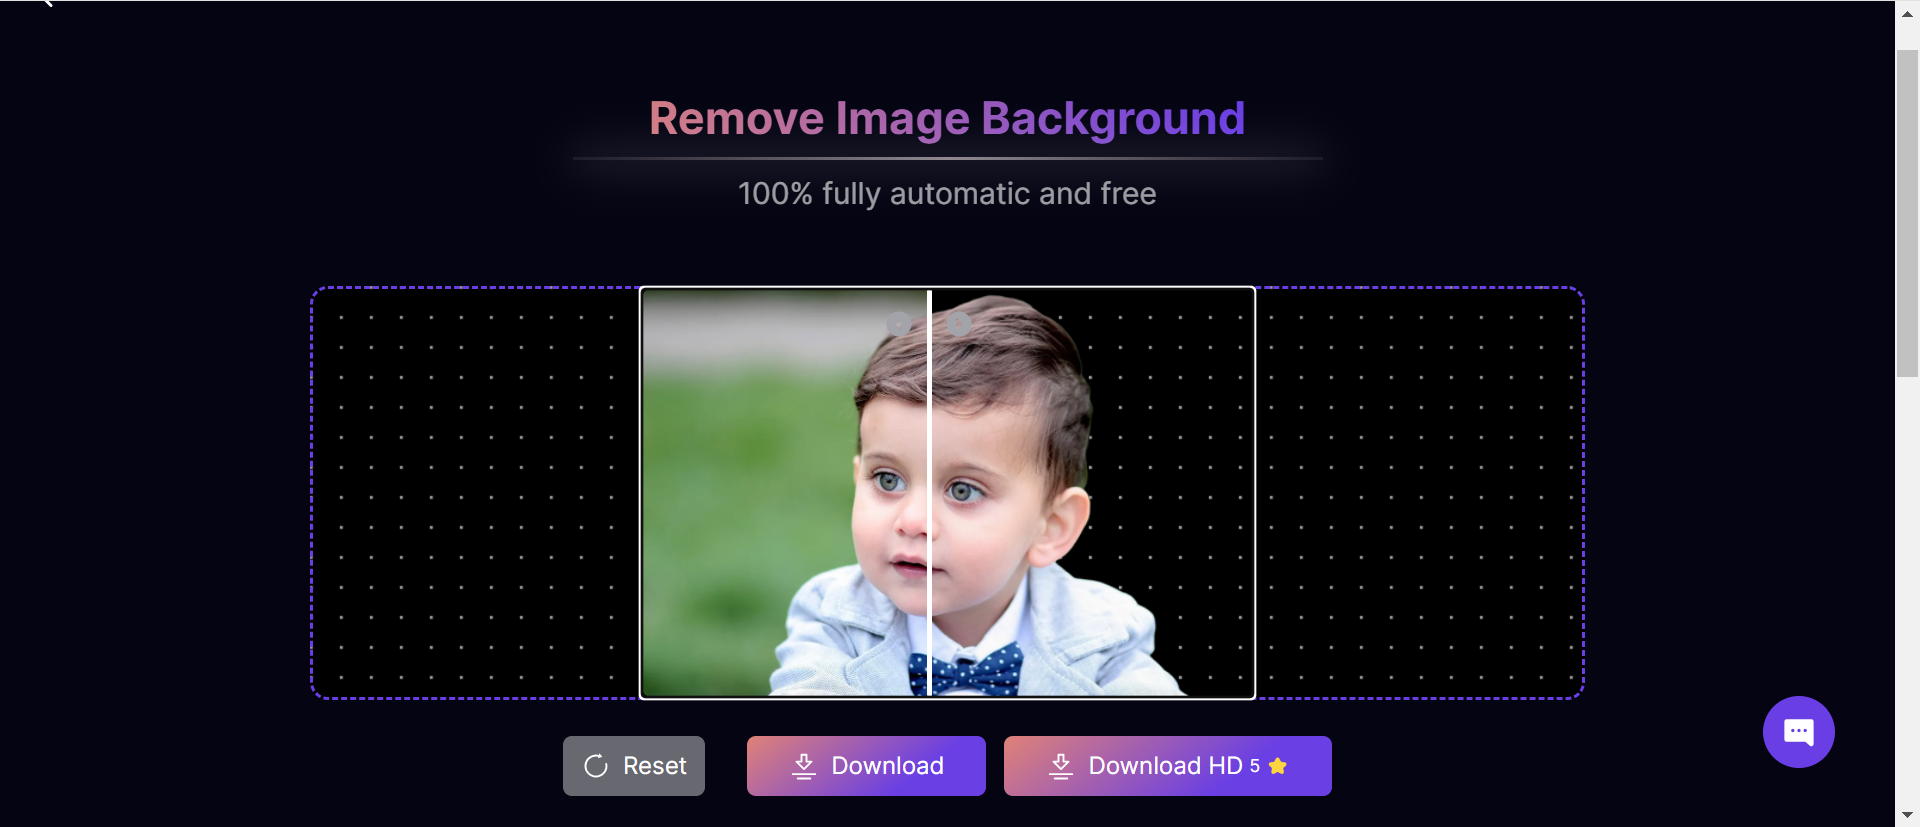
After the background is removed, click the Download button to save the image to your device. The image will be in PNG format with a transparent background unless you choose to add a new one.
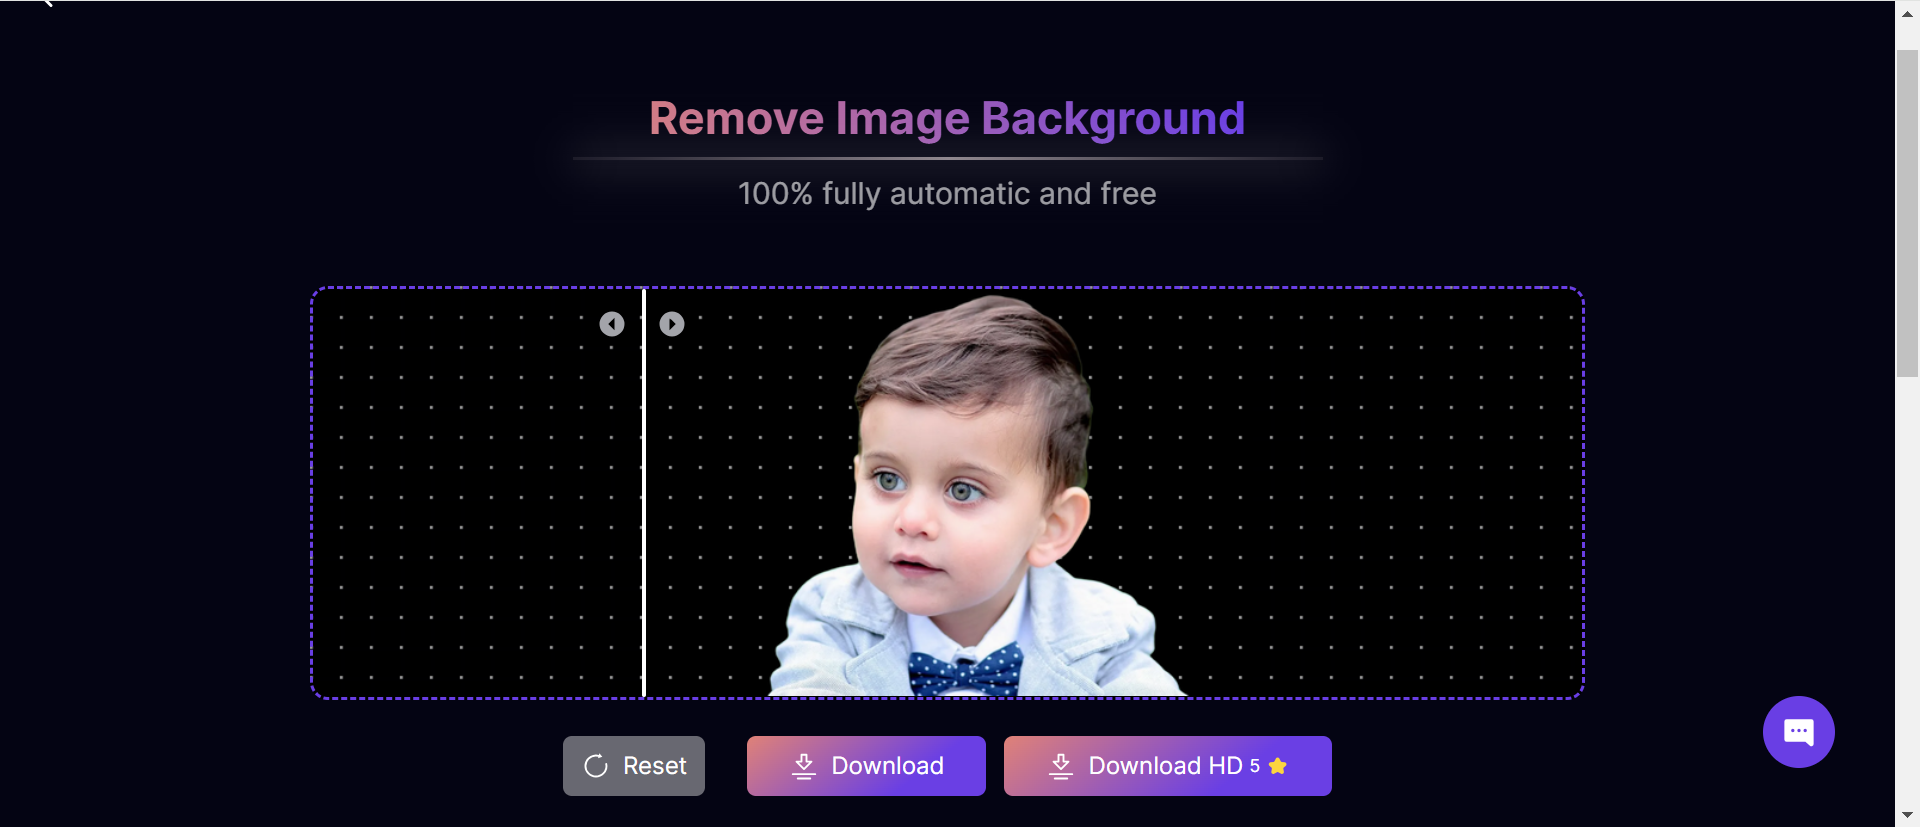
Aitubo is fast, easy to use, and doesn’t require advanced skills. It’s perfect for anyone who needs a quick solution to remove backgrounds without complex editing software. You can use the tool for free, or opt for premium features for more options.
Conclusion
Whether you are a beginner or an experienced user, GIMP offers a wide array of selection tools and techniques to remove the background from your images. As you become more comfortable with GIMP, you can explore more advanced techniques like layer masks or the foreground select tool to handle intricate details. With practice, you’ll be able to quickly and efficiently remove backgrounds from any image.
Remember, each method offers different advantages, and you may need to combine them depending on the complexity of your image. If you need faster results, you can also try Aitubo for automatic background removal.
FAQs
Q1: How do I remove a background in GIMP?
To remove a background in GIMP, you can use various tools such as the fuzzy select tool, paths tool, or foreground select tool. The method you choose will depend on the complexity of the image and the level of precision required.
For simpler backgrounds with uniform color, the fuzzy select tool works quickly. If the subject has intricate edges, the paths tool allows for more detailed and precise selection. The foreground select tool is ideal for situations where the background is complex or similar in color to the subject, ensuring a clean separation with minimal effort.
Each tool offers different advantages, so selecting the right one depends on the specific needs of your project.
Q2: How to make a background transparent in GIMP?
To make a background transparent in GIMP, first add an alpha channel to your image by right-clicking on the image layer in the Layers panel and selecting "Add Alpha Channel." This step ensures that the image supports transparency.
Then, use tools like the fuzzy select tool or layer masks to remove the background. The fuzzy select tool allows you to quickly select areas based on color, while layer masks provide a more detailed and non-destructive way to edit the image.
The areas you remove will become transparent, and you’ll see a checkered grid in those regions, indicating transparency. Once you've removed the background, you can save the image as a PNG to preserve the transparency.
Q3: How do I remove the background of an image?
To remove the background of an image using Aitubo, simply upload your image to the website. Aitubo will automatically detect and remove the background using AI. If needed, you can fine-tune the selection by using the editing tools to restore or erase specific areas.
Once you're satisfied, download the image with a transparent background or add a new background if desired.
